


Christmas is a special time of year and it's not too early to get ready, especially with a homemade angel that looks good any time of the year.
Join Shirley Bovshow in making a Protea Christmas angel as Hallmark Home & Family celebrates Christmas in July. Head over to Hallmark Home & Family for the full tutorial.
Introduction
Christmas might seem far away, but there’s no harm in getting a head start on holiday decorations! One creative and festive project you can embark on today is making enchanting angel decorations out of Protea flowers. Not only will this give you something lovely to display come December, but it’s also a fun DIY activity to enjoy. Let’s dive into how to bring these charming angels to life!
Preparing the Flowers
To create your Protea angel, it’s essential to prepare and dry your flowers well in advance. The first step in the process is drying the Protea flower. Start by placing it in a vase with just a quarter inch of water and let it sit for about two weeks. This slow drying method ensures that the flower retains its beauty and structural integrity for the project.
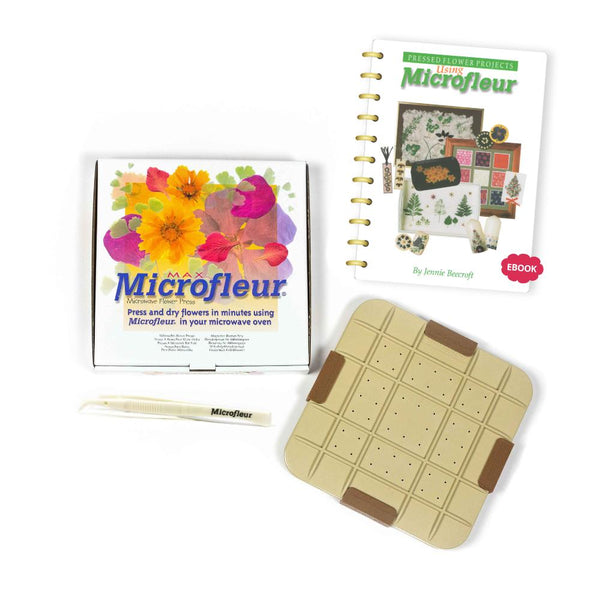
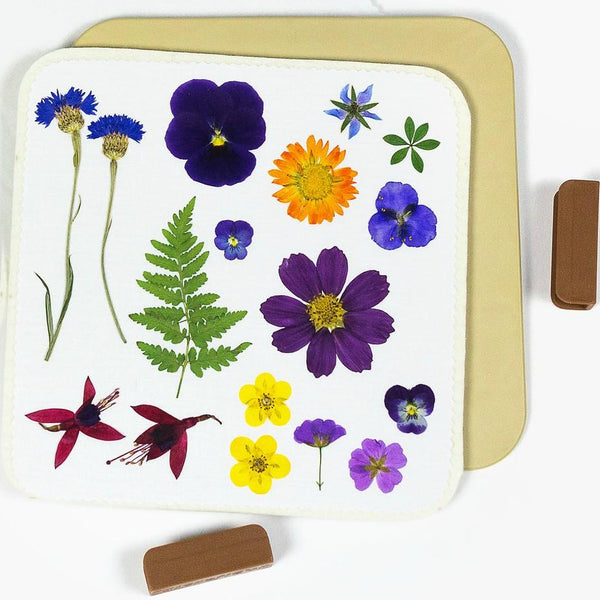
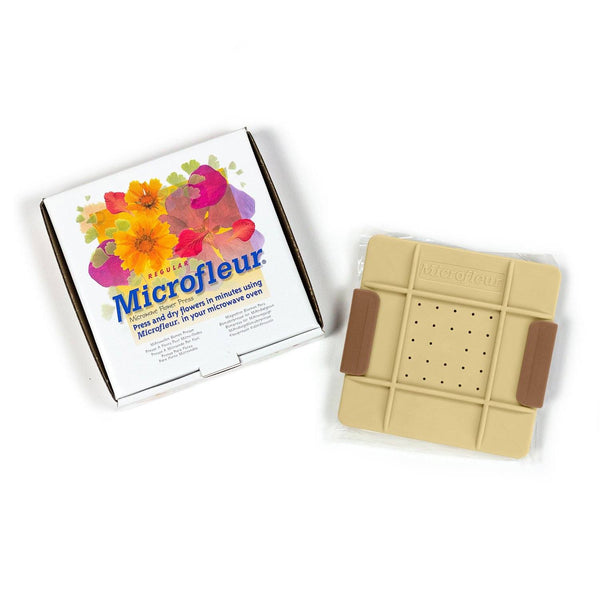
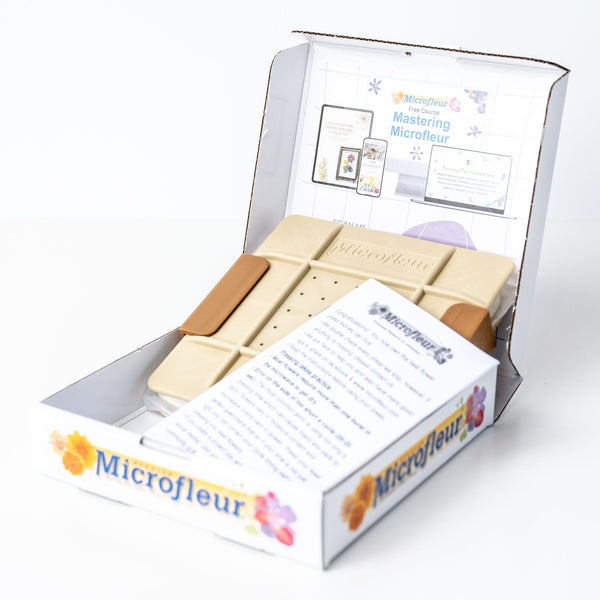
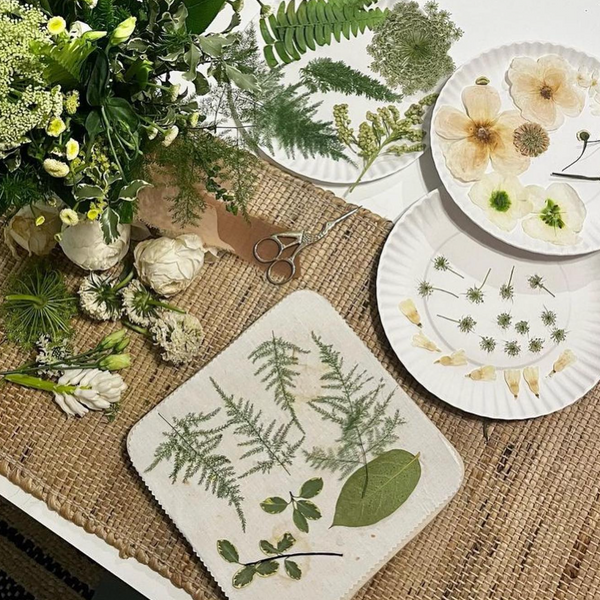
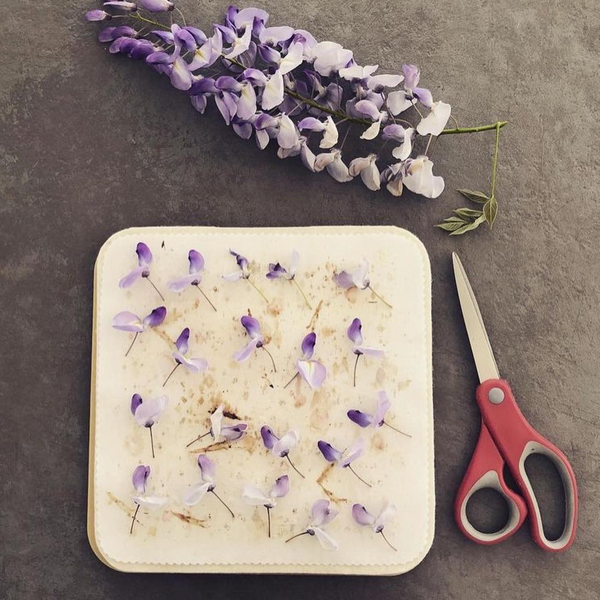
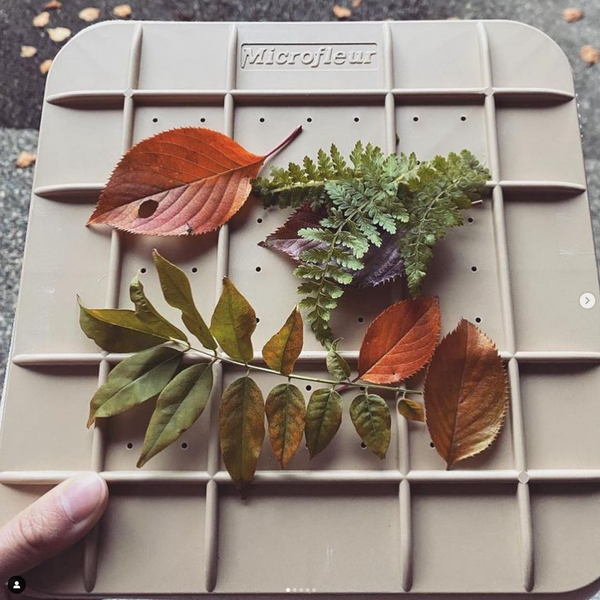
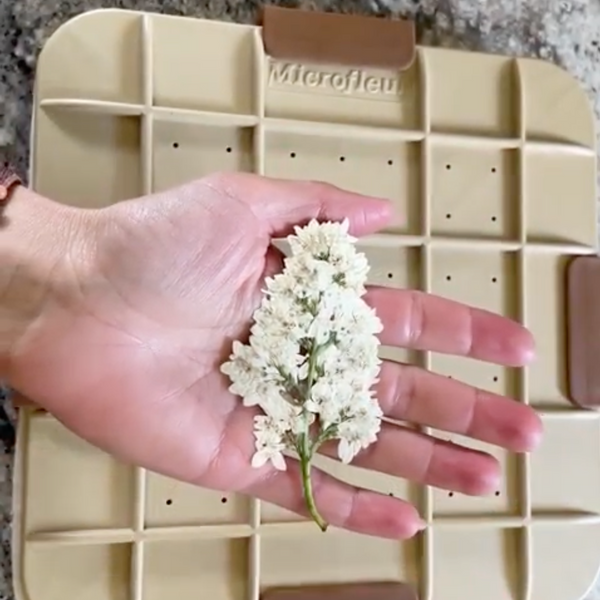
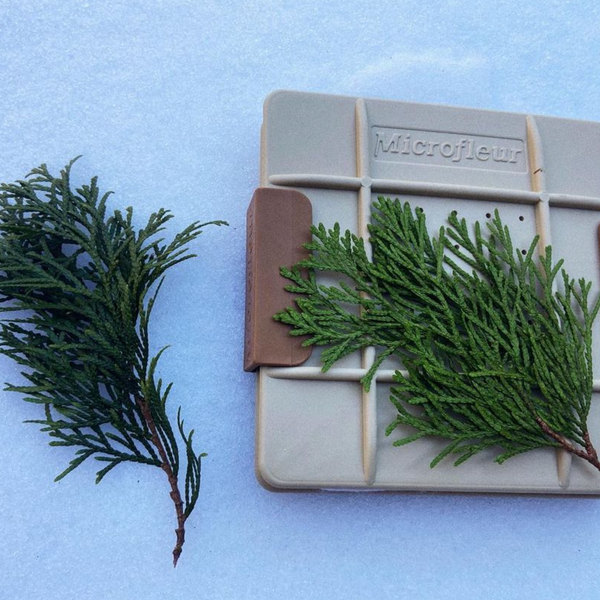
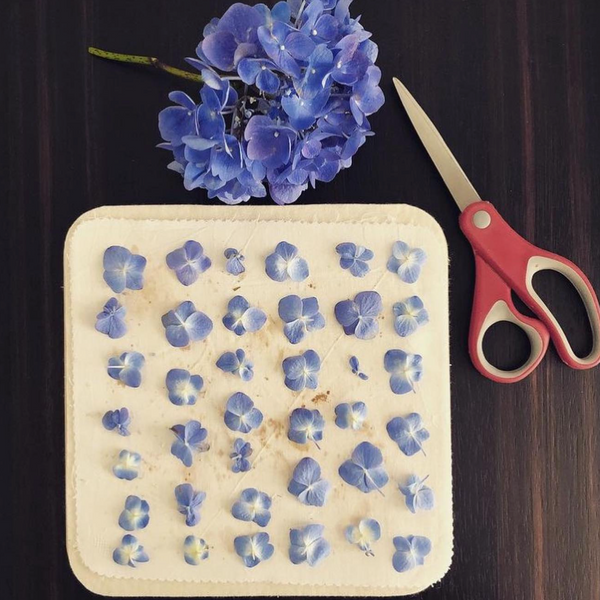
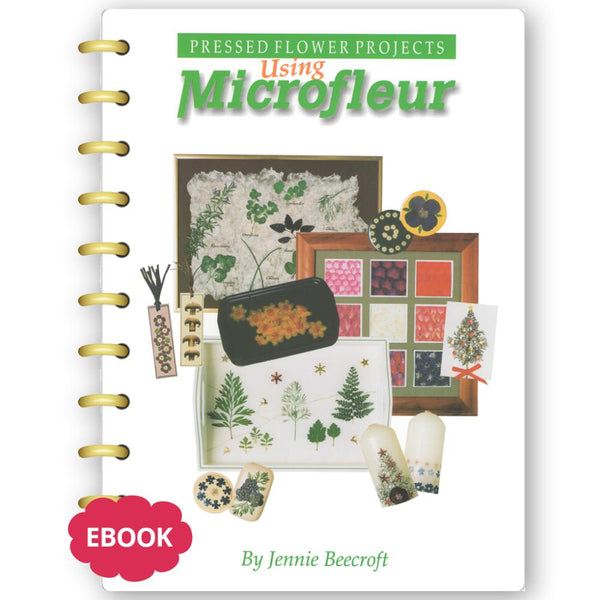
Alongside the Protea, you'll need some pressed leaves for the angel’s wings. If you don’t have two months to spare, consider using a microwave press, which can preserve the leaves in just three minutes! Once dried, you'll be ready to assemble your angel.
Constructing the Angel
Now that you have your dried Protea, let's get started on creating the angel. Begin by inverting the dried flower to serve as the body. You can embellish it to your liking – perhaps by painting it or adding decorative touches.
For the head, consider using a Lucas pollen or an attractive flower head that resembles a face. Trim it down to the desired size and attach it to the top of the inverted Protea. You can personalize this further by adding ribbons or dried flowers to enhance its appearance.
Making the Wings
The wings are a significant part of our angel's charm. Using the previously pressed leaves, you can craft stunning wings. To protect these fragile leaves from breaking, consider using a spray glue to adhere them to a lightweight material, like vellum. Covering the leaves will help lock in moisture and prevent brittleness.
Once they are secured, unleash your creativity! You can paint the leaves for an iridescent glow or add details like gold leaf edges for a touch of elegance.
Assembling the Angel
With the body, head, and wings ready, it’s time to assemble your angel! Use a hot glue gun to attach the wings securely at the back of the angel figure. This is where the art of balance comes into play – feel free to adjust the position of the wings for the desired look.
Once put together, your Protea angel will shine beautifully and become a centerpiece for your holiday decor. Remember, these angels aren’t just for display; they can also make thoughtful gifts for friends and family during the festive season.
Conclusion
Creating a Protea angel is not just about crafting; it’s about enjoying the process and letting your imagination run wild. So gather your materials, invite some friends over, and enjoy this delightful and artistic way to prepare for Christmas. The beauty of these decorations lies in their personalization and the love put into making them. Happy crafting, and may your holidays shine bright with your handmade angels!